


How to use the wood wedges that come with a stretched canvas
Ever wonder what the eight triangular wooden wedges stapled to the back of the stretched canvas you purchased are used for. Well the good news is we are here to help, hopefully before you have thrown away the wedges and noticed your stretched canvas is slightly sagging.
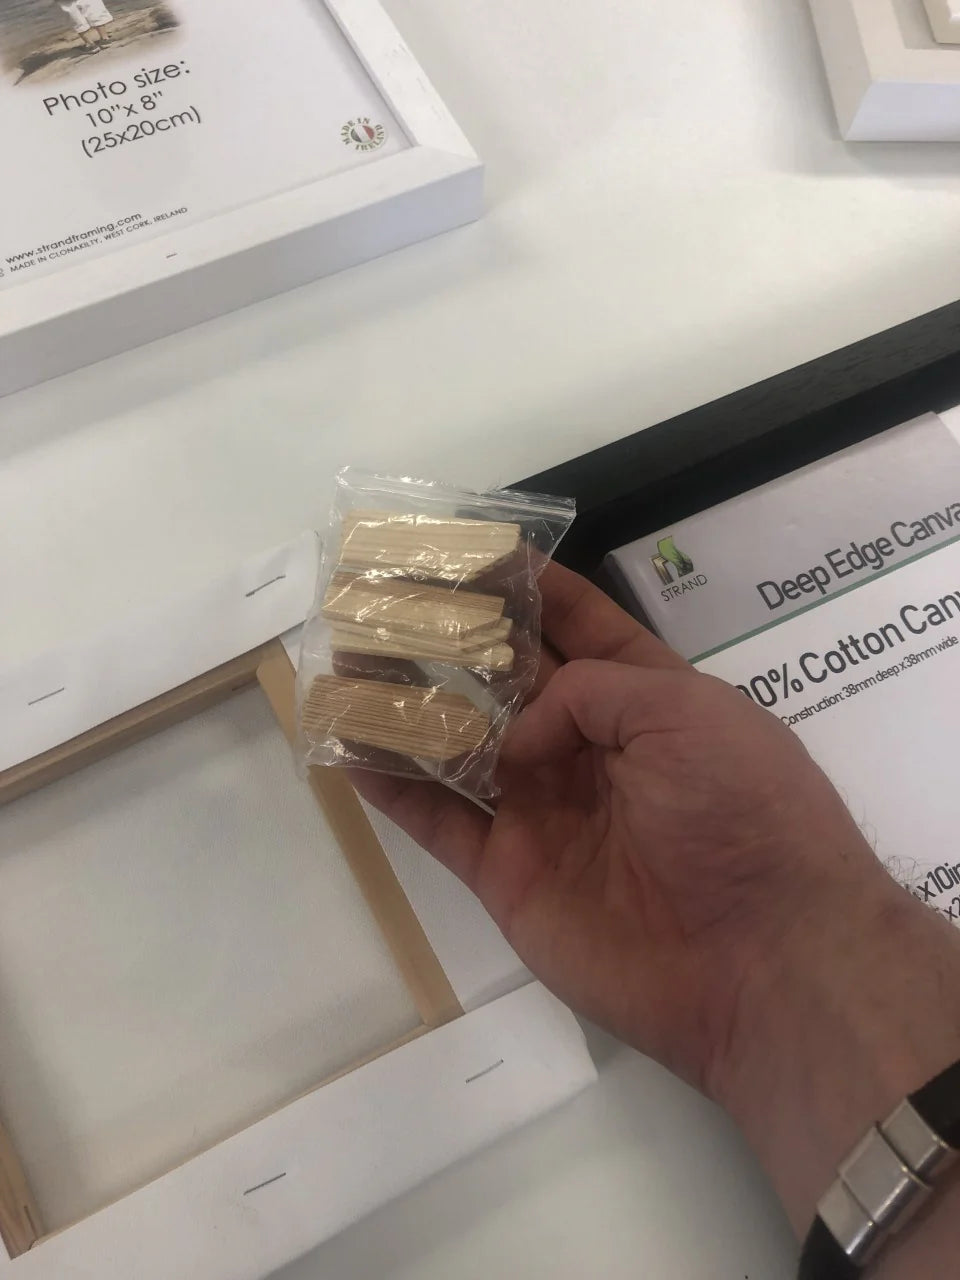
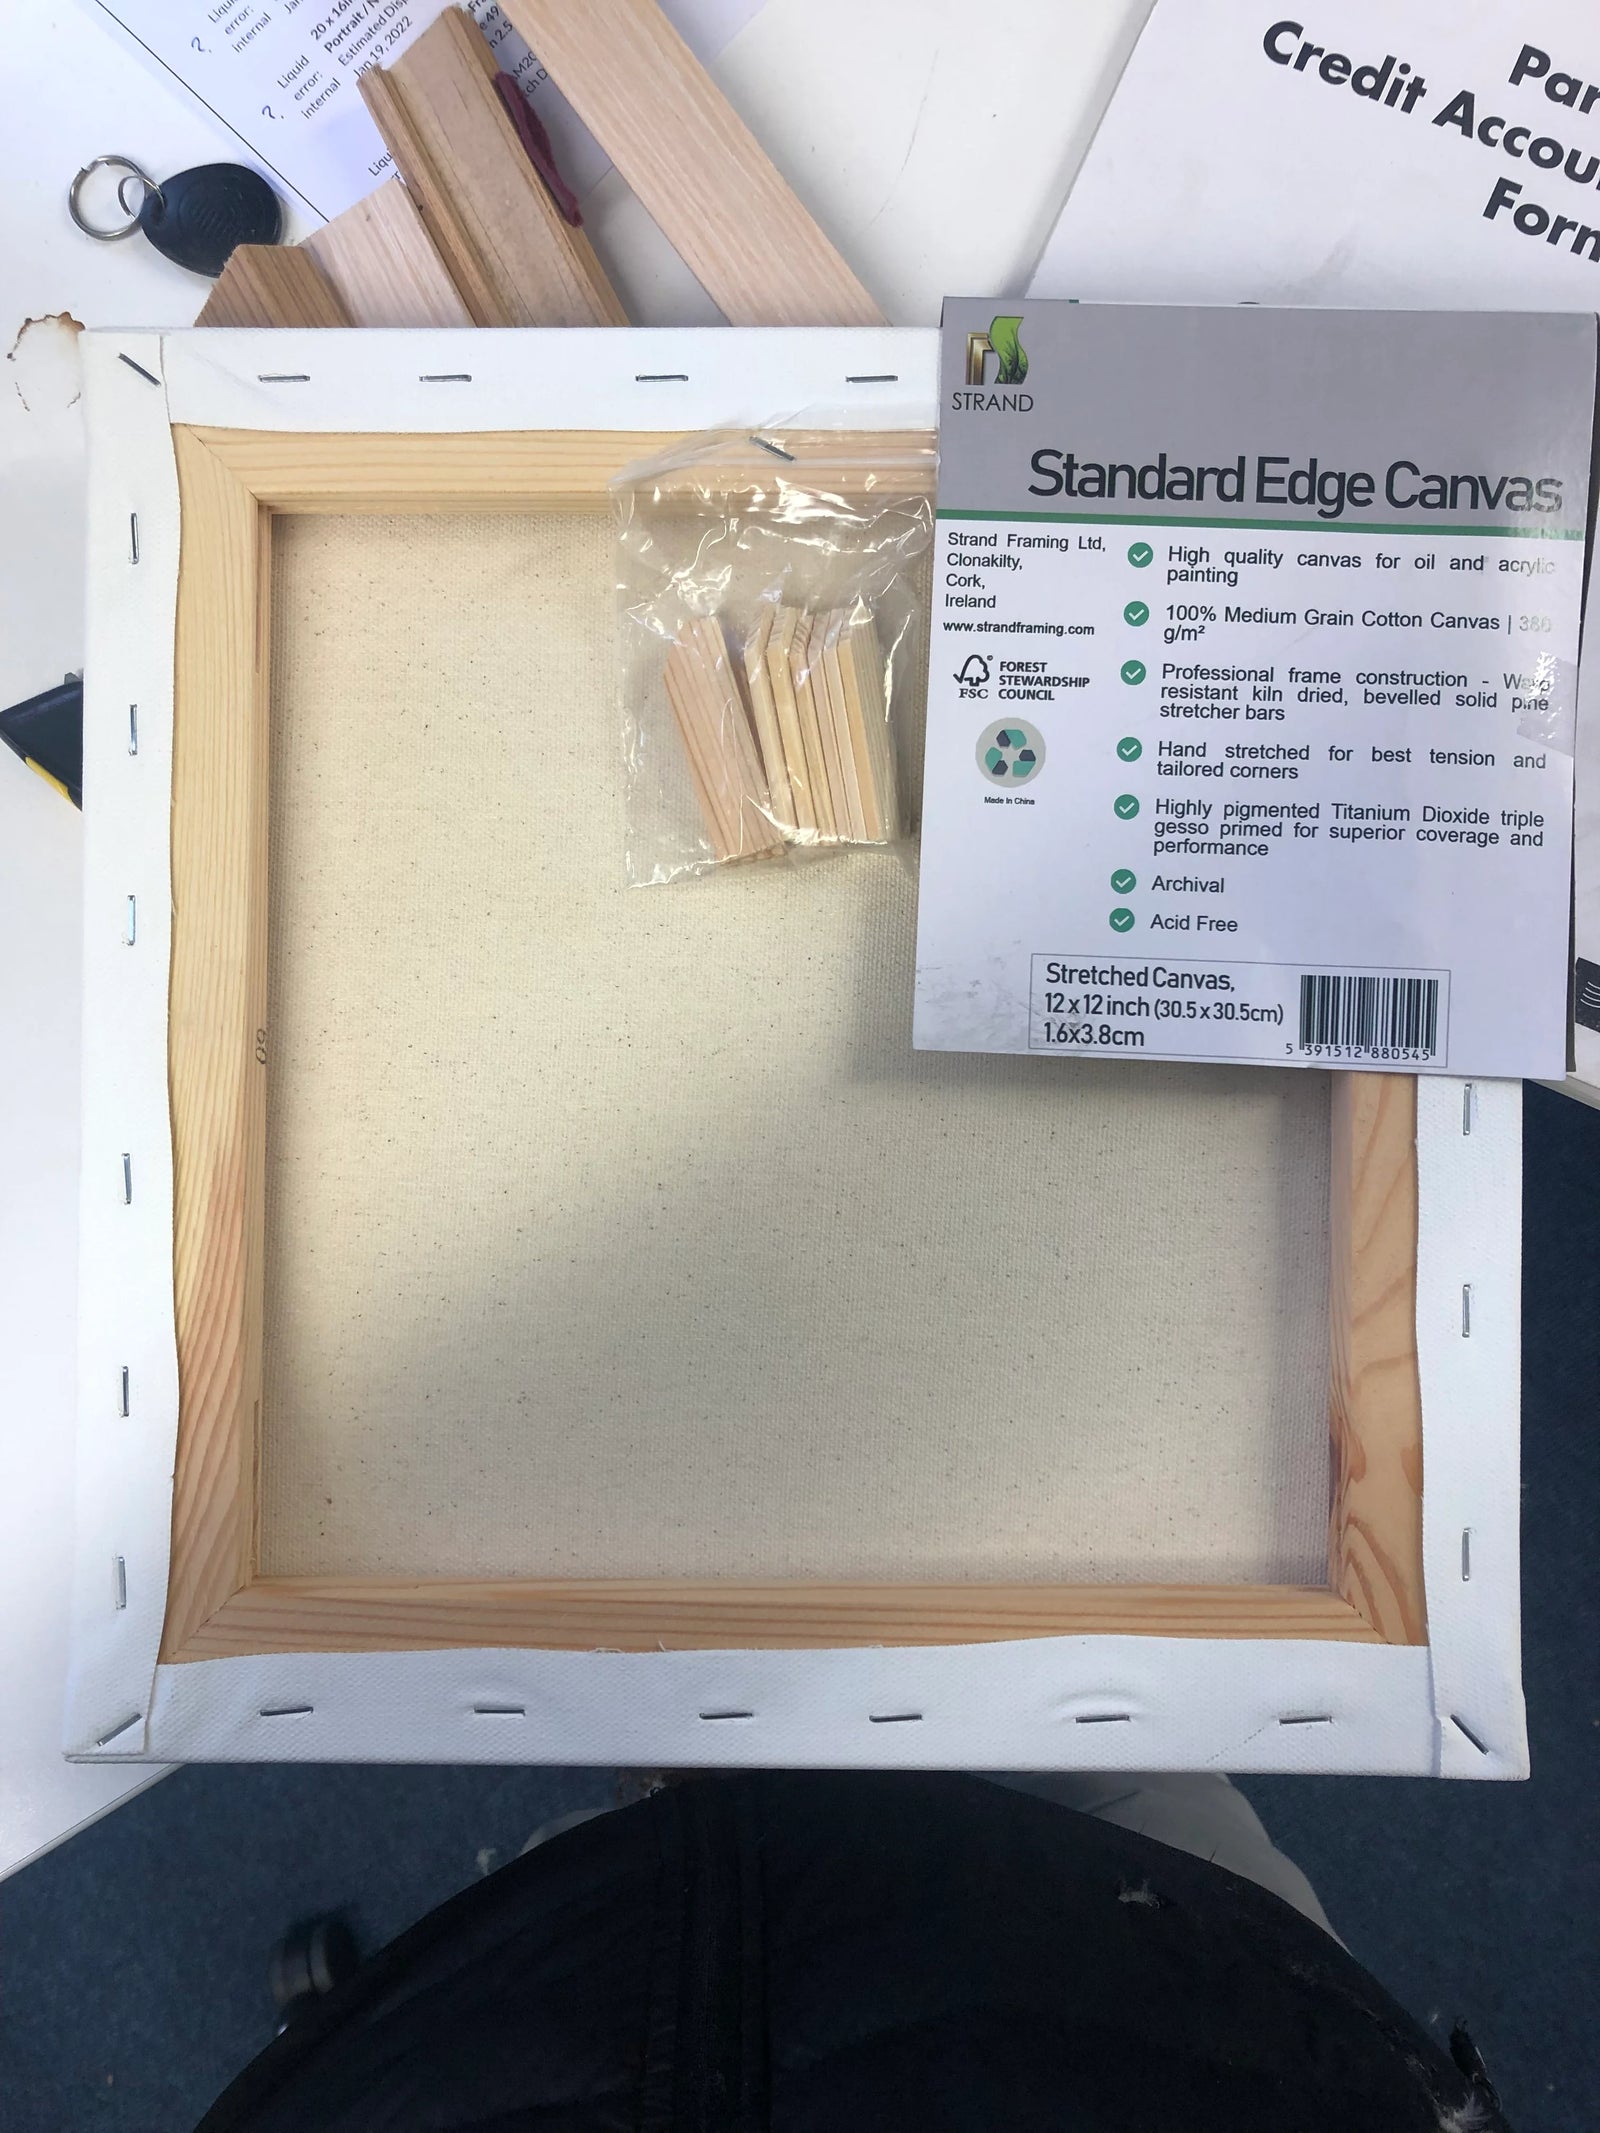
Quality stretched canvas products are generally supplied with a little plastic bag of eight canvas wedges stapled to the stretcher frame. Occasionally they can be already inserted into the joints of the canvas frame.
Its important to remember that a stretched canvas is made of wood and fabric. Both which are susceptible to environmental changes such as temperature and humidity. Over time, this leads to your canvas product expanding and contracting which can lead to sagging of the canvas. The canvas can also sag whilst being shipped and will also generally loosen over time anyway.
Queue the canvas wedges - what they are used for?
Tighten up a canvas that arrived a bit loose -Ready made canvas can sometimes arrive slightly loose. The wedges will work perfectly to manually solve the issue. Usually a few mm is all that is required. Our strand brand of canvas products are triple primed so you can insert the wedges immediately. However if you are using other canvas products wait until you have primed the canvas or even best to wait after you have painted on it.
Tighten up a canvas that arrived fine but after painting on it now seems loose? -This is a perfectly normal occurrence, The canvas and wood will absorb some of the paint which will lead to extra weight pressure on the canvas and joints. Wait until you have finished painting and varnishing. Check if it needs a bit of tightening and follow the guide below to quickly tighten your stretched canvas
Tighten up a finished painting that has been on a customers wall for years. - Many artists contact us with a slight issue. They have sold a canvas painting years ago and the customer has rang mentioning the canvas is sagging. In this situation it is best that the artist has fitted the canvas wedges loosely on the back of the painting and they can simply send on the instructions on how to tap the wedges in to fix the issue. The wedges will often mean the canvas will not have to be re stretched. One thing to note is that if over stretched paint can tend to crack on canvas so ensure you stress to be careful to your customer.
Inserting the canvas wedges
Stretched canvas bars are manufactured with a mitred bridle joint. This means there are 2 slots which you should be able to fit your canvas wedges. As the wedges are pushed in they push the joining bars further apart thus stretching the canvas fabric out by a few mm. This tightens the canvas on the stretcher frame.
Guide to fitting your canvas wedges
Quick set of instructions. This quick guide will have you tightening loose canvas in seconds. Try moving the bars apart before you start tapping in the wedges as the wedges work best if they are locking the bars in place in the space you have created by moving the bars apart.
Manually move the bars apart. Using a small hammer you can tap the center of the bars away from the center of the canvas. Use a piece of wood if you are concerned about marking the stretcher bars with the hammer.
Identify the canvas wedge slots. Once you are happy with how the canvas is fitting. There should be 2 slots in each corner. Insert the slots by hand at first and then tap them in gently to hold the bars apart.
Be careful. Extreme caution is urged her while tapping the wedges gently in. Over exuberance could result in the hammer splitting the canvas or wood which is not ideal. The goal here is to fill the space created by moving the bars apart.
Canvas wedges. The canvas wedges are designed to be left in permanently. If they are removed the canvas will sag on the bars once again.
You may also like


